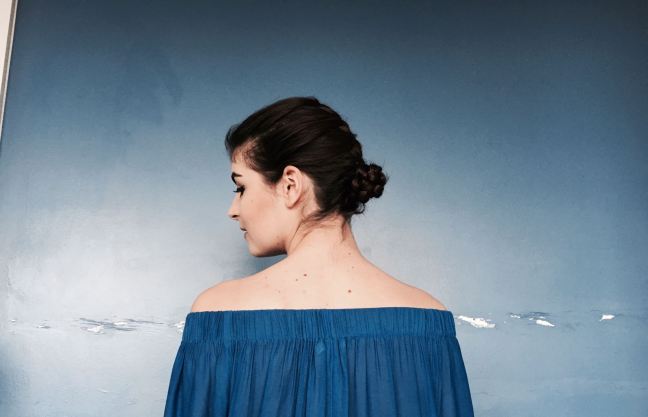
The French braid bun is the easiest twist you can add to a French braid to turn the elegant classic into a beautiful updo. I have recreated this look on Raluca.
3 tips for this look:
- Begin from the crown of your head rather than from your forehead.
While starting from your hairline would look very interesting, if you are looking for an elegant formal I would recommend you start at the back from the crown of your head. Firstly, it is easier to start there as you have a thicker base for your braid if you have layers. Secondly, the look is faster to create in this way.
- Flatten and pull back strongly your hair for a sleek finish.
When creating a boho braid you tend to be a bit more careless in order to create dimension and texture. However, when we aim for a classic sleek look, we must ensure that we keep hairs under control and we must align the direction of the hairs we pull in the braid. You can use a comb or a toothbrush to brush though each strand of hair.

- Plump it up or keep it small.
Depending on the length of your hair you can have a small and highly intricate looking bun or a large and fluffy bun. If you chose a small bun you just need to wrap the braid very tightly around one finger. Have the broader side of the braid facing the finger and as you wrap slowly remove your finger and press the bun to the nape of your neck in order to tighten it. Tuck in the end of your braid under the bun and secure it with as many bobby pins as you prefer. If you go for puff, put the broader side of the braid against the head and pin as you go to keep the whole bun in place as it is larger. You can fluff the edges of the braid to make it even bigger or go for a slicker look.
Raluca went for full sleek look and an intricate small bun to complement her elegant shirt for the day.
